Table of Contents
Intriguing Question:
Have you ever wondered why some Cake Chocolate are so moist and rich, while others turn out dry or overly sweet? What’s the secret behind those bakery-perfect slices of decadence? The answer lies in mastering a few simple techniques that can take your baking from ordinary to extraordinary. Let’s dive into how these tips transform your Cake Chocolat game!

Overview
If you’re looking for a showstopper dessert that’s easy to make but tastes like it came straight from a professional kitchen, this [Cake Chocolat] recipe is for you. With just seven smart tips, even beginners can create a stunning cake that wows friends and family.
Key Facts:
- Time Required : About 45 minutes total (including prep and bake time).
- Difficulty Level : Beginner-friendly! No fancy equipment needed.
- Special Features : Rich chocolate flavor, super moist texture, and customizable options to suit any taste.

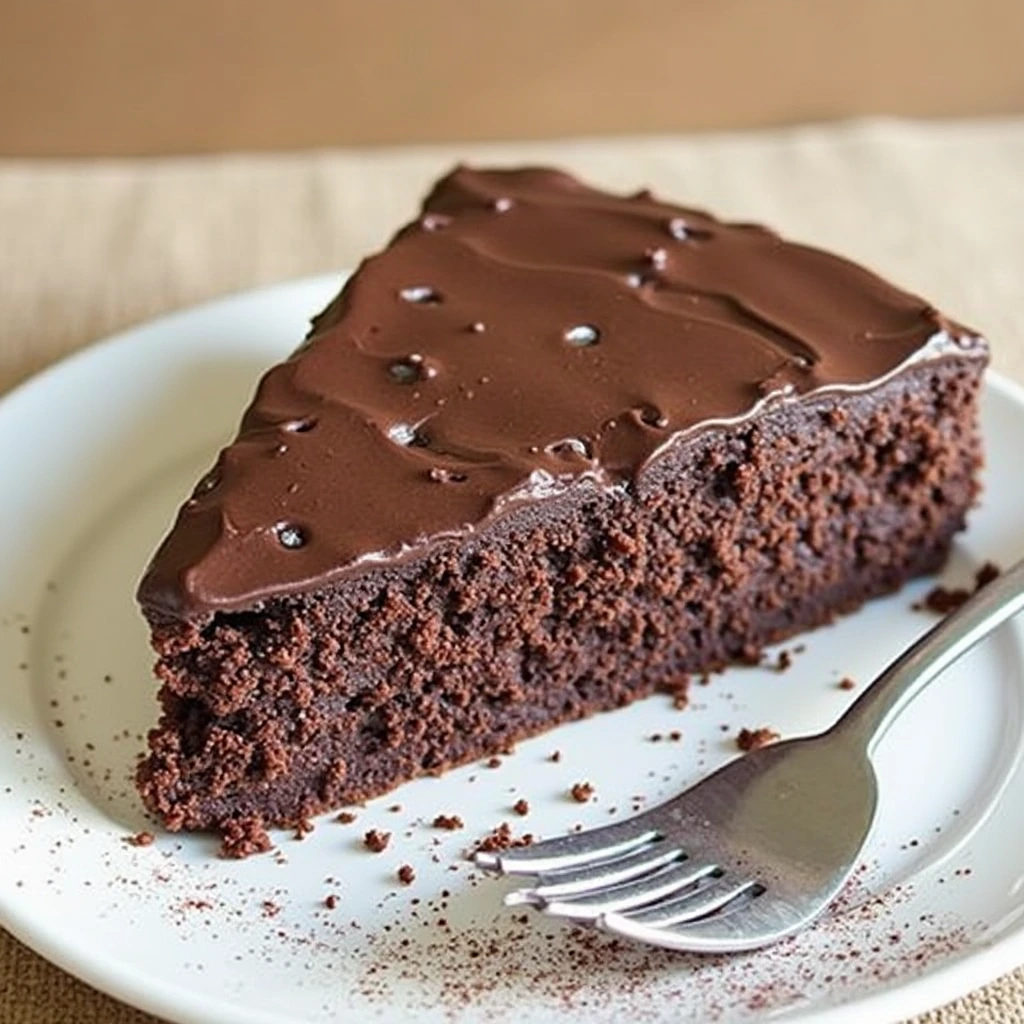
This isn’t just another chocolate cake—it’s a celebration of flavors and textures that will leave everyone asking for seconds.
Essential Ingredients
Here’s what you’ll need to bring this delicious [Cake Chocolat] to life:
- All-Purpose Flour : Provides structure without overpowering the chocolate flavor. You can substitute with whole wheat flour for added fiber if desired.
- Cocoa Powder : Opt for high-quality unsweetened cocoa powder for deep, rich chocolate notes. Dutch-processed cocoa works great too!
- Sugar : Granulated sugar adds sweetness and helps keep the cake tender. For a healthier option, try coconut sugar or honey.
- Eggs : Acts as a binding agent and contributes moisture. If you’re vegan, use flaxseed eggs instead.
- Milk : Whole milk enhances creaminess, but almond milk or oat milk works well for dairy-free versions.
- Butter : Adds richness and tenderness. Use melted butter for easier mixing. Coconut oil is an excellent plant-based alternative.
- Baking Powder & Soda : These leaveners help the cake rise evenly.
- Vanilla Extract : A touch of vanilla complements the chocolate beautifully.
- Boiling Water : Yes, boiling water! It intensifies the cocoa flavor and keeps the cake moist.
Pro Tip: Measure ingredients accurately using a scale for best results.
Step-by-Step Instructions
Now let’s get started! Follow these steps carefully to achieve bakery-quality [Cake Chocolat] at home.
Step 1: Preheat and Prep
Preheat your oven to 350°F (175°C). Grease and line two 8-inch round pans with parchment paper to prevent sticking.
Step 2: Mix Dry Ingredients
In a large bowl, whisk together:
- 2 cups all-purpose flour
- ¾ cup cocoa powder
- 2 cups granulated sugar
- 2 teaspoons baking powder
- 1 teaspoon baking soda
- 1 teaspoon salt
Mix until smooth and free of lumps.
Step 3: Combine Wet Ingredients
In a separate bowl, mix:
- 1 cup milk
- ½ cup melted butter (or coconut oil)
- 2 large eggs
- 2 teaspoons vanilla extract
Pour the wet mixture into the dry ingredients and stir gently until combined.
Step 4: Add Boiling Water
Slowly pour in 1 cup of boiling water while stirring continuously. Don’t worry—the batter will look thin, but this ensures a moist cake.
Step 5: Pour and Bake
Divide the batter evenly between the prepared pans. Tap them lightly on the counter to release air bubbles. Bake for 30–35 minutes, or until a toothpick comes out clean.
Assembly
Once your cakes have cooled down completely, it’s time to start assembling!
- Level the Cakes : Use a serrated knife to slice off the domed tops for flat layers.
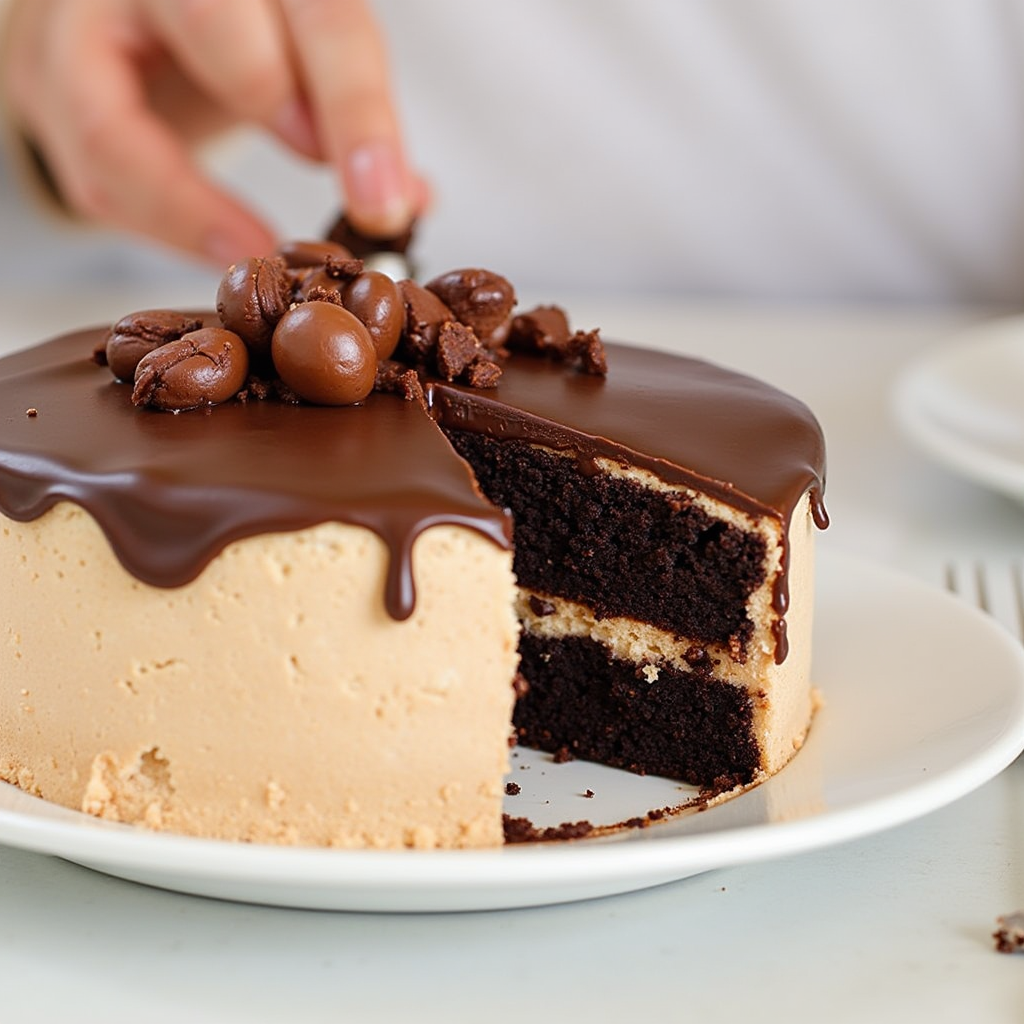
- Frost Generously : Spread your favorite frosting (we recommend chocolate ganache or whipped cream) between the layers and on top.
- Decorate Creatively : Dust with cocoa powder, add fresh berries, or drizzle melted chocolate for extra flair.

Presentation Tip: Keep decorations simple yet elegant to highlight the rich chocolate flavor.
Storage and Make-Ahead Tips
- Storage : Store leftover [Cake Chocolat] in an airtight container at room temperature for up to 3 days. For longer storage, freeze individual slices for up to 2 months.
- Reheating : Reheat slices briefly in the microwave or oven for a warm, gooey treat.
- Make Ahead : Prepare the cake layers up to 2 days ahead and frost just before serving.
Recipe Variations
Feel free to experiment with these creative twists:
- Nutty Delight : Fold in chopped walnuts or pecans for added crunch.
- Spiced Chocolate : Sprinkle cinnamon or chili powder into the batter for a spicy kick.
- Berry Surprise : Layer fresh raspberries or strawberries between the cake layers.
- Gluten-Free Option : Replace all-purpose flour with gluten-free flour blend and adjust liquid content as needed.
Conclusion
With these seven tips, making [Cake Chocolat] becomes a breeze—even for novice bakers. Whether you’re hosting a dinner party or craving a comforting dessert after a long day, this recipe delivers every time. So roll up your sleeves, grab your mixing bowls, and enjoy the magic of homemade chocolate perfection!
FAQs
Q: Is it possible to use dark chocolate instead of cocoa powder?
A: Absolutely! Melted dark chocolate can replace part of the cocoa powder for an ultra-rich flavor.
Q: Is this cake healthy?
A: While it’s indulgent, swapping refined sugar for natural alternatives and adding nuts or fruit makes it slightly healthier.
Q: How do I fix a cracked cake?
A: Cracks often happen when the oven is too hot. Lower the temperature slightly next time. To hide cracks, frost generously!
Q: Can I bake this in a single pan?
A: Yes, but increase the baking time by 10–15 minutes and check doneness regularly.
Happy baking—and happy eating!

